Converting and Masking Connexo XML to a database (MySQL)
In this post we will show you how obfuscate XML data and convert it to a tabular format. We will use XML documents from Connexo NetSense and convert it to a relational format in MySQL.
We will be using Sonra’s masking tool Paranoid (open source) to obfuscate the data. We will use Flexter to convert the data to a relational format. The enterprise edition can be installed in the cloud or on-premise.
Table of Contents
Connexo NetSense
Connexo NetSense collects data from RF mesh and cellular networks, giving the coverage and data flexibility from daily to real-time interval reads.
It provides interface to support node engaged in smart grid applications such as meter reading, street and commercial lighting infrastructure monitoring and more.
MySql
MySQL is an open-source relational database management system (RDBMS). MySQL is a component of the LAMP web application software stack. It is used in many database-driven web applications e.g. Drupal, Joomla, WordPress. It is also used by many popular websites such as Facebook, Twitter and Youtube.
Masking Connexo XML
In one of the first steps we will mask the Connexo XML data.
We have already shown how to install Paranoid in our Masking Sabre XML post.
To mask data we have to provide a path to our file and a path to an output location. Paranoid will create the folder automatically, no need to create it first.
|
1 |
paranoid -i <file path> -o <output file path> |
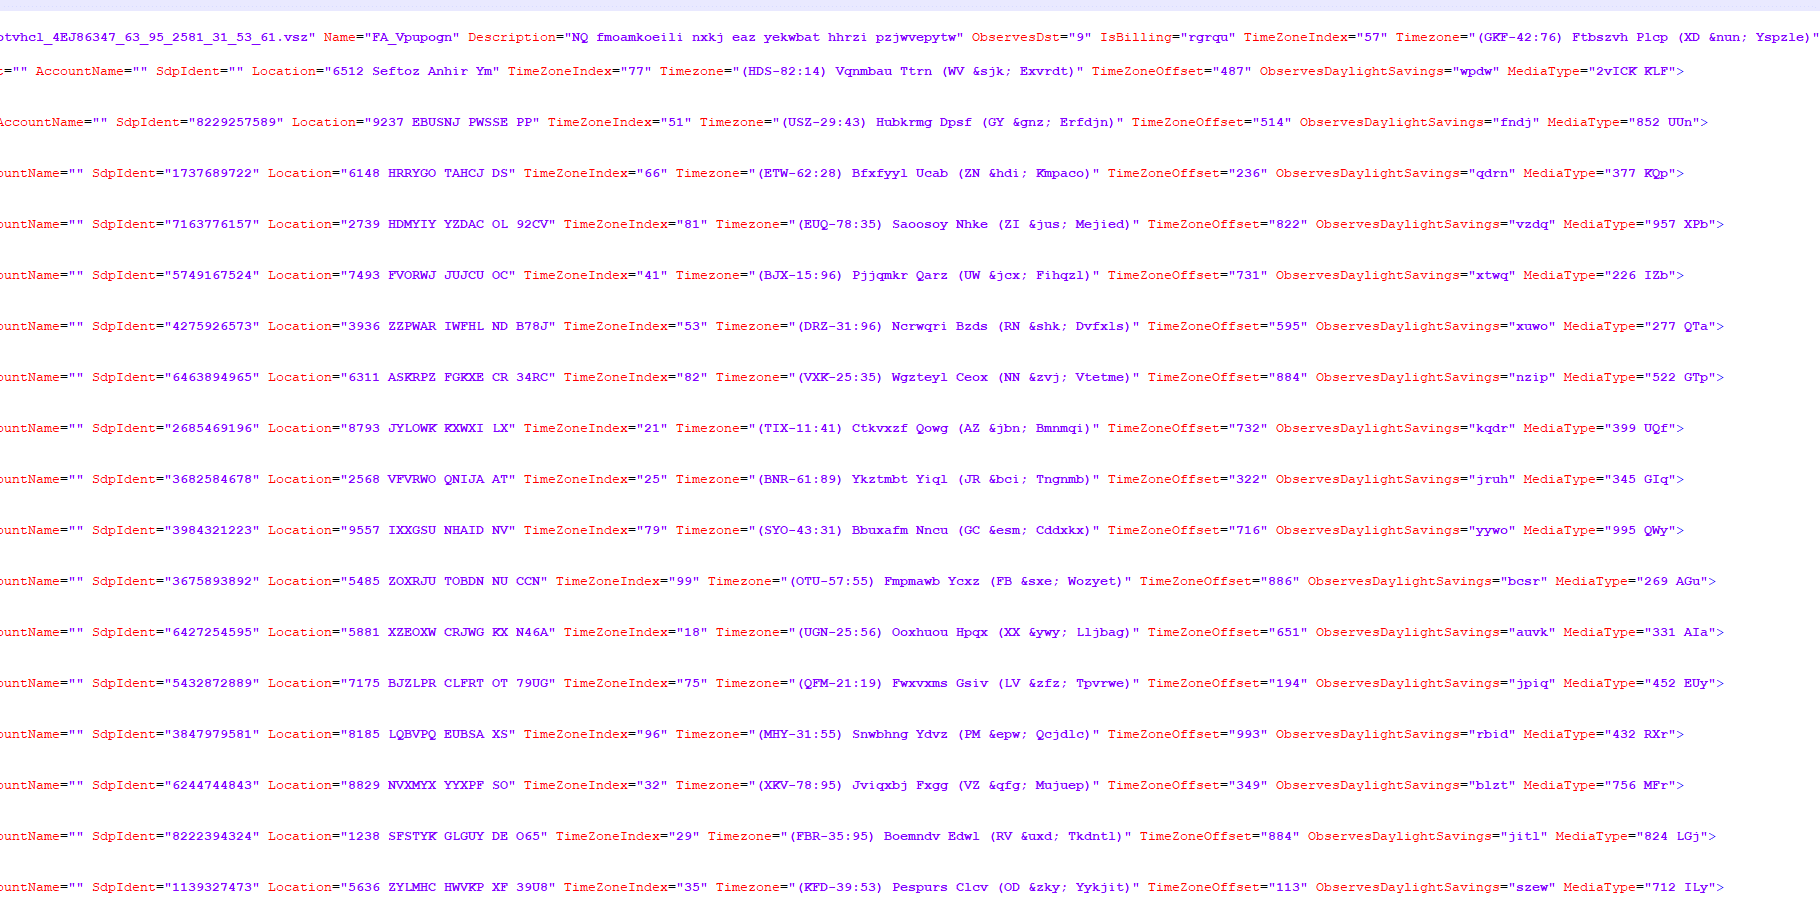
As you can see in the image, it took less than 20 seconds to mask all of the values in the XML file. Optionally Paranoid has the feature to mask individual elements inside an XML document and also multiple XML documents in one go.
Let’s have a look at our file after masking
After checking that everything is masked we can go and zip our masked file and continue with processing it with Flexter.
Processing Connexo XML with Flexter
Flexter exposes its functionality through a RESTful API. Converting XML/JSON to MySQL can be done in a few simple steps.
Step 1 – Authenticate
Step 2 – Define Source Connection (Upload or S3) for Source Data (JSON/XML)
Step 3 – Optionally define Source Connection (Upload or S3) for Source Schema (XSD)
Step 4 – Define your Target Connection, e.g. Snowflake, Redshift, SQL Server, Oracle etc.
Step 5 – Convert your XML/JSON from Source to Target Connection
Step 1 – Authenticate
To get an access_token you need to make a call to /oauth/token with Authorization header and 3 form parameters:
- username=YOUR_EMAIL
- password=YOUR_PASSWORD
- grant_type=password
You will get your username and password from Sonra when you sign up for the service.
|
1 2 3 4 |
curl --location --request POST "https://api.sonra.io/oauth/token" \ --header "Content-Type: application/x-www-form-urlencoded" \ --header "Authorization: Basic NmdORDZ0MnRwMldmazVzSk5BWWZxdVdRZXRhdWtoYWI6ZzlROFdRYm5Ic3BWUVdCYzVtZ1ZHQ0JYWjhRS1c1dUg=" \ --data "username=XXXXXXXXX&password=XXXXXXXXX&grant_type=password" |
Example of output
|
1 2 3 4 5 6 7 8 |
{ "access_token": "eyJhbG........", "token_type": "bearer", "refresh_token": "..........", "expires_in": 43199, "scope": "read write", "jti": "9f75f5ad-ba38-4baf-843a-849918427954" } |
Step 2 – Define Source Connection (Upload) for Source Data (Connexo XML)
In next step we upload Connexo XML source data.
|
1 2 3 4 5 |
curl --location --request POST "https://api.sonra.io/data_sources/connexo" \ --header "Authorization: Bearer <access_token>" \ --form "source_type=uploaded_file" \ --form "file=@<file_path>" \ --form "data_type=xml" |
Example of output
|
1 2 3 4 5 6 7 8 |
{ "name" : "connexo", "type" : "xml", "source_type" : "uploaded_file", "path" : "file-3c4c01f8-40cd-46f2-9658-8ad0dbd34e07", "size" : 721487, "create_date" : "2019-08-08T14:00:30.658+0000" } |
Step 4 – Define Target Connection (MySQL)
Since we don’t have a Source Schema we skip the optional step of defining a Source Schema.
We define our Target connection. We give the Target Connection a name and supply various connection parameters to the MySQL database.
|
1 2 3 4 5 6 7 |
curl --location --request POST "https://api.sonra.io/target_connections/mysql" \ --header "Authorization: Bearer <access_token>" \ --form "target_type=mysql" \ --form "host=xxxxxxxxxxxxxxxxx.eu-west-1.rds.amazonaws.com" \ --form "username=user" \ --form "password=password" \ --form "database=database" |
Example of output
|
1 2 3 4 5 6 |
{ "name" : "mysql", "target_type" : "mysql", "path" : "xxxxxxxxxxxxxxxxx.eu-west-1.rds.amazonaws.com", "create_date" : "2019-08-08T14:02:06.653+0000" } |
Step 5 – Convert JSON data from Source Connection (Upload) to Target Connection (MySQL)
In the final step, we convert the Connexo XML data. It will be written to MySQL Target Connection.
|
1 2 3 4 |
curl --location --request POST "https://api.sonra.io/conversions/connexo" \ --header "Authorization: Bearer <access_token>" \ --form "data_source=connexo" \ --form "target=mysql" |
Example of output
|
1 2 3 4 5 6 7 8 9 10 11 12 13 14 15 16 17 18 19 20 21 22 |
{ "name" : "DataFlow-1549fdbb-5045-4e38-9b0e-6def86d5b4f3", "schema_source_connection" : null, "data_source_connection" : { "name" : "connexo", "type" : "xml", "source_type" : "uploaded_file", "path" : "file-dba1d5e7-6569-491b-bd76-9482cd3020f4", "size" : 721435, "create_date" : "2019-08-08T14:58:42.500+0000" }, "target_connection" : { "name" : "mysql", "target_type" : "mysql", "path" : "xxxxxxxxxxxxxxxxx.eu-west-1.rds.amazonaws.com", "create_date" : "2019-08-08T14:02:06.653+0000" }, "create_date" : "2019-08-08T14:58:52.053+0000", "status" : "I", "download_link" : null, "full_status" : "INITIALIZED" } |
Example of ER Diagram

You can download the ER Diagram for the converted Connexo XML file here.
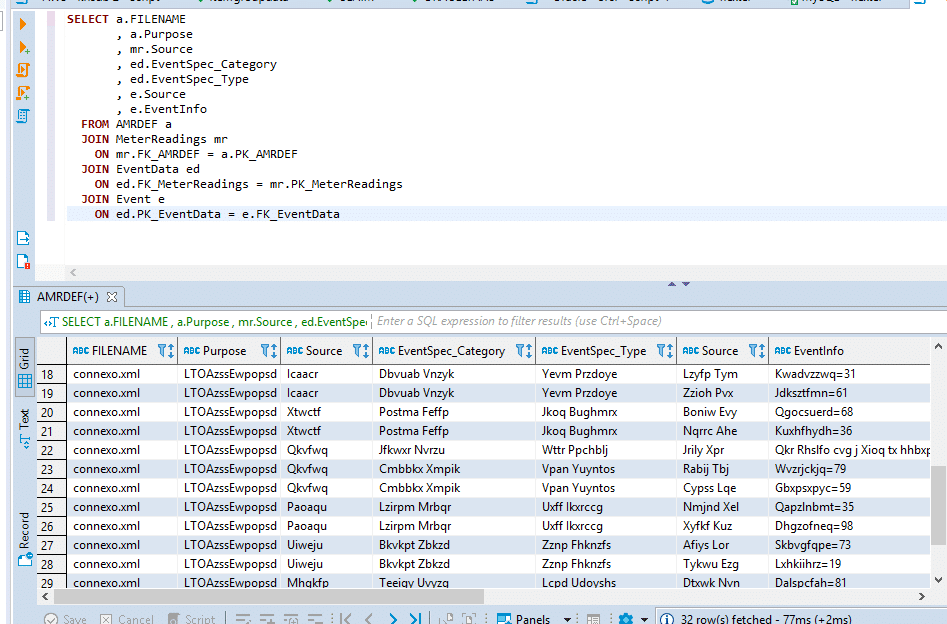
Next we will run an SQL Query where we will select Information about Events.
|
1 2 3 4 5 6 7 8 9 10 11 12 13 14 |
SELECT a.FILENAME , a.Purpose , mr.Source , ed.EventSpec_Category , ed.EventSpec_Type , e.Source , e.EventInfo FROM AMRDEF a JOIN MeterReadings mr ON mr.FK_AMRDEF = a.PK_AMRDEF JOIN EventData ed ON ed.FK_MeterReadings = mr.PK_MeterReadings JOIN Event e ON ed.PK_EventData = e.FK_EventData |
Conclusion
In a couple of minutes we have masked Connexo XML and converted it to MySQL in 5 easy steps. This entire process is done in a few minutes with Paranoid and Flexter.
Our enterprise edition can be installed on a single node or for very large volumes of XML on a cluster of servers.
If you have any questions please refer to the Flexter FAQ section. You can also request a demo of Flexter or reach out to us directly.