ODI 11g in a Services Oriented Architecture. Part II. Deploying and Testing data services in Weblogic
Get our e-books Discover the Oracle Data Integrator 11g Repository Data Model and Oracle Data Integrator Snippets and Recipes
Table of Contents
In part I of the Oracle Data Integrator in a SOA environment series we’ve had a look at how ODI can be used conceptually in a SOA environment. In this second part we get our hands dirty and actually generate and deploy a data service in Weblogic.
Pre-requisites for the walkthrough
ODI 11g (11.1.3.5) running on Weblogic 11g (10.3.5), Oracle database 11g with OE sample schema installed. For the purpose of this paper ODI, Weblogic, and the Oracle database are installed with the OE sample schema on the same machine.
Next we create the logical data server

You should also have a good understanding of some of the basic ODI development tasks. This includes creating ODI procedures, ODI data servers, and familiarity with the XML functionality in ODI. I have a couple of ODI video tutorials on these tasks on my blog in case you are a complete novice.
[private] Without further ado let’s get started.
Creating and deploying data services in ODI
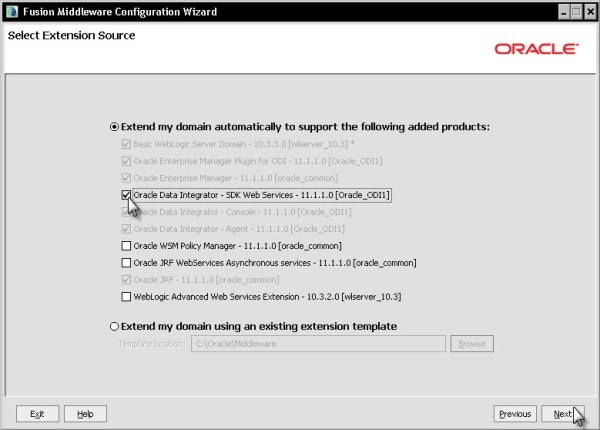
Before we can use the data services functionality in ODI we have to make sure that we have added the “Oracle Data Integrator – SDK Web Services” product to our Weblogic domain. If you haven’t installed this already launch the configuration wizard, e.g. from D:OracleMiddlewareOracle_ODI1commonbin and extend your domain.
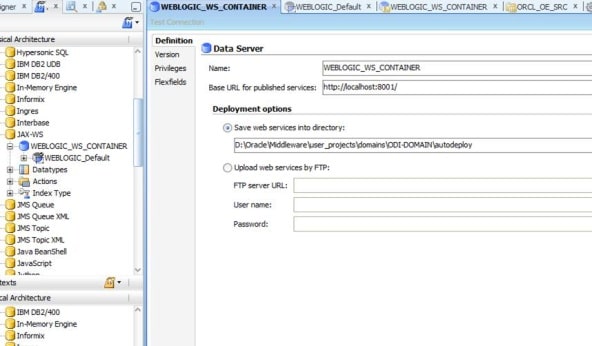
Next we will create the web services container.
This is where we will deploy the data services for the OE model. Go to ODI Studio Topology and add a physical data server to the JAX-WS techonology. Give the data server a name and type in the base URL for your ODI domain in Weblogic, e.g. http://localhost:8001. You will also need to supply the directory for auto-deployment of your data service. In your ODI domain in Weblogic there should be a folder autodeploy. In my environment this is at D:OracleMiddlewareuser_projectsdomainsODI-DOMAINautodeploy. This is the folder where ODI deploys the auto generated code for the data services.
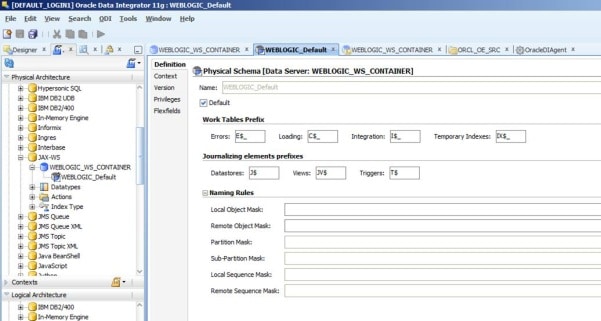
Next we insert a physical schema for the data server. Leave all of the default values.
Next insert the Logical Data Server
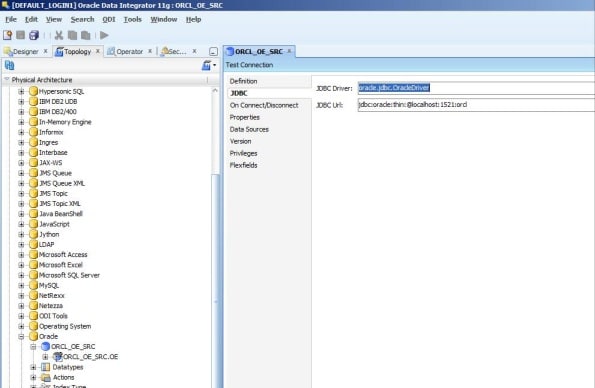
As we will use the OE sample schema to demonstrate data services we will have to set this up as data server in ODI.
In ODI Studio Topology we create a new data server under the Oracle Technology.
Next we create the logical data server
We then reverse engineer the OE model.
Go to the ODI Studio Designer tab, create a new model and reverse engineer the OE schema.

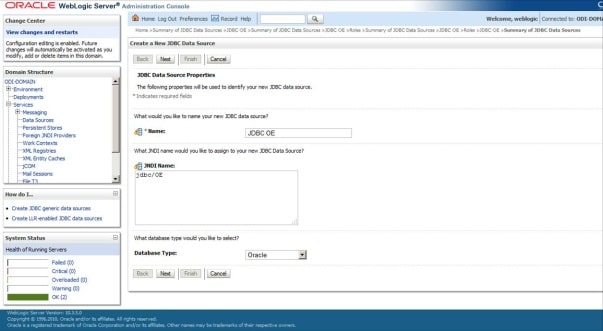
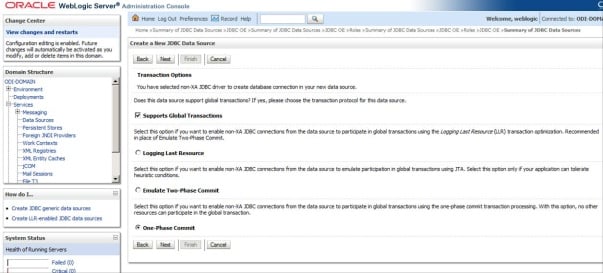
Before we can generate the data service for the customer table we first have to create a JDBC data source to the OE schema in Weblogic.
Log on to the Weblogic console (the default URL for the Weblogic console is http://localhost:7001/console) and navigate to Services > Data Sources.
We create a new Generic Data Source and name it JDBC OE. AS JNDI name we submit jdbc/oe.
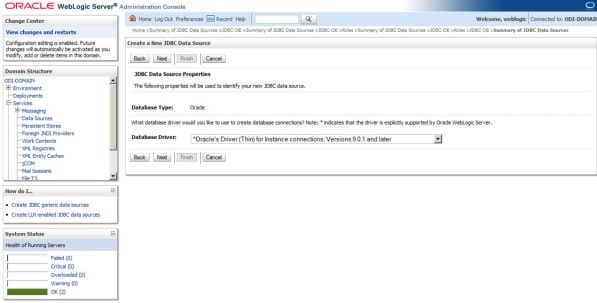
On the next screen we select the appropriate Oracle driver. In our case this is the Oracle driver (Thin) for Instance connections Version 9.0.1 and later
On the next screen we leave all of the given default values.
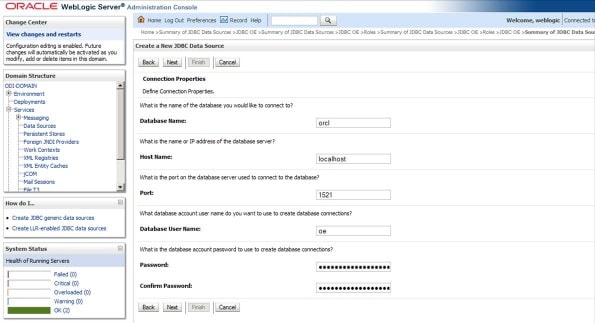
On the next screen we type in the connection details to our OE schema.
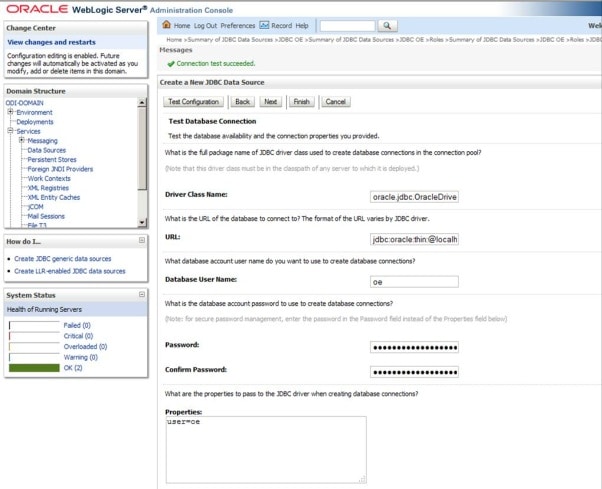
On the next screen we will test our connection.
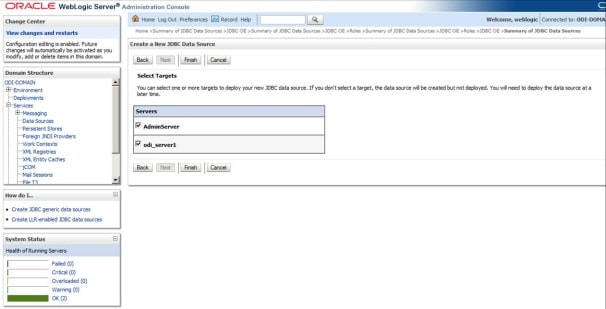
On the final screen we will select both the Admin Server (in my implementation AdminServer) and the ODI Server (in my implementation odi_server1) servers as target.
We now have created our JDBC data source in Weblogic and are now in a position to create our ODI data service.
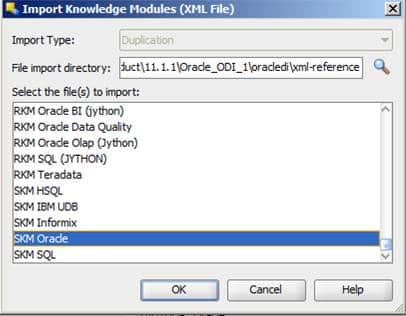
Data services in ODI are generated using a Services Knowledge Module (SKM). We first need to import this into our project.
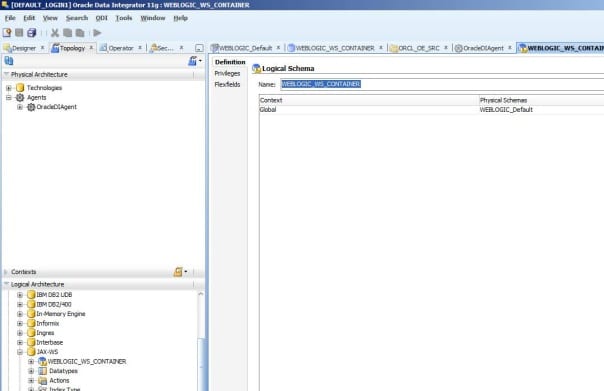
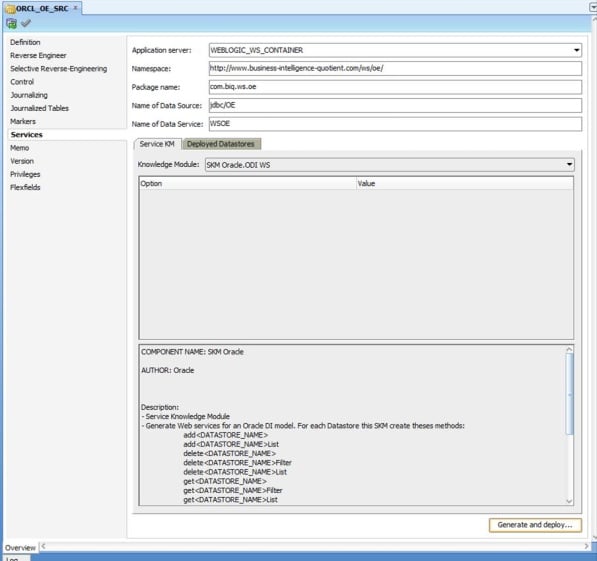
Next we open the ORCL_OE_SRC model and navigate to the Services finger tab.
In the application server dropdown we select the WEBLOGIC_WS_CONTAINER we created earlier on. Then we submit an appropriate namespace and package name, e.g. com.biq.ws.oe. As the Name of Data Source we supply the previously created jdbc/OE data source. We give the data service a name, e.g. WSOE. Finally we select the SKM Oracle.ODI WS from the Knowledge Module dropdown.
Next we navigate to the Deployed Datastores tab and select the Customers table.
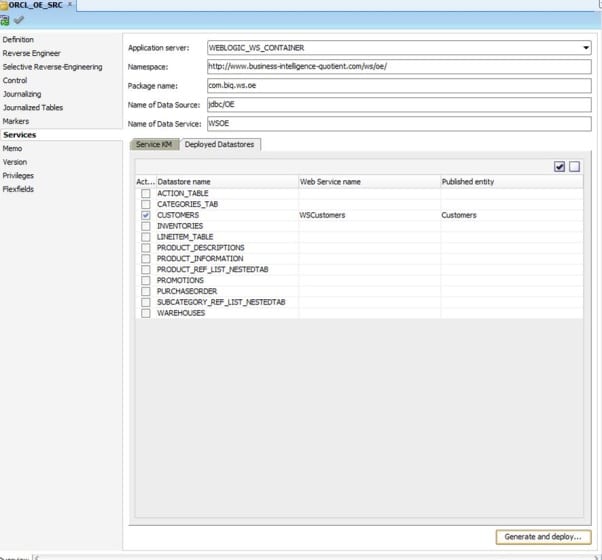
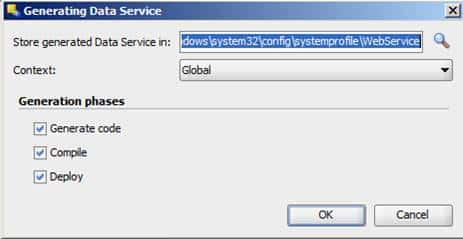
We save our selection and click the Generate and deploy… button. We leave the default values in the popup and click OK.
If we browse to our autodeploy folder we will find the .war file in it.
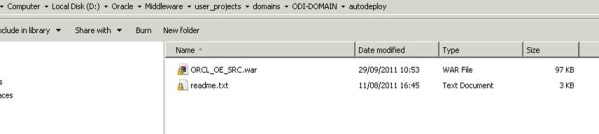
Congratulations. You have deployed your first ODI data service.
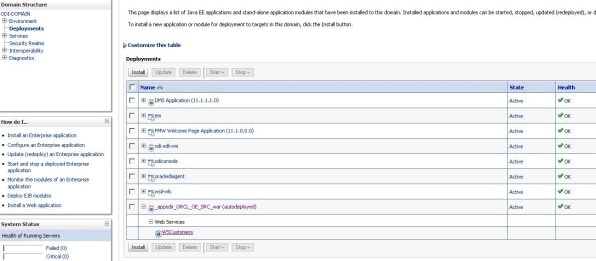
Let’s verify that the data service has been deployed as an application. In the Weblogic Console navigate to Deployment and you should see _appsdir_ORCL_OE_SRC_war (autodeployed). If the application has not yet been started you need to start it manually now.

Testing our data service
We have various options when it comes to testing our data service. I will show you how to test it using the Weblogic Console and the ODI web service client OdiInvokeWebService. If you need more advanced options I recommend the Open Source web services client soapUI.
Weblogic
We log into your Weblogic console, e.g. http://localhost:7001/console , go to Deployments and expand _appsdir_ORCL_OE_SRC_war (autodeployed).
Then we click on WSCustomers and then go to the Testing tab.
We can view the WSDL by clicking the ?WSDL link.
http://localhost:7001/ORCL_OE_SRC/WSCustomers?WSDL
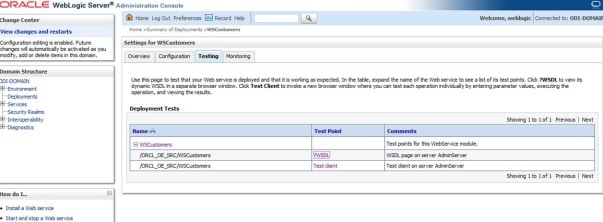
This will show the WSDL in your web browser

We can test the web services by clicking on Test client. This will open a new browser window that lists all of the available web services.
To retrieve the attributes for a particular customer we will invoke the getCustomers method, e.g. for CUSTOMER_ID 105
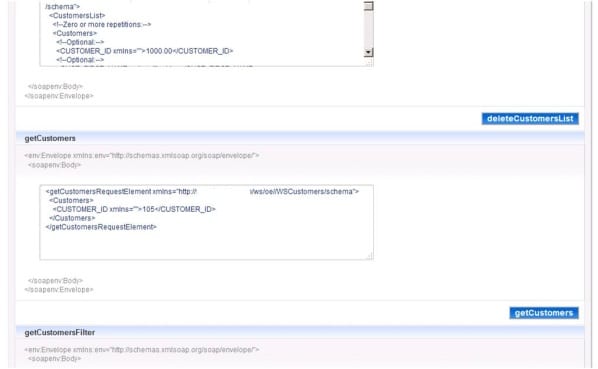
After clicking the getCustomers button this returns the Customer attributes for ID 105.

OdiIinvokeWebservice
Another way of testing our data service is to use the web service client built into ODI.
We create a new package WSCustomers and add an OdiInvokeWebService tool.
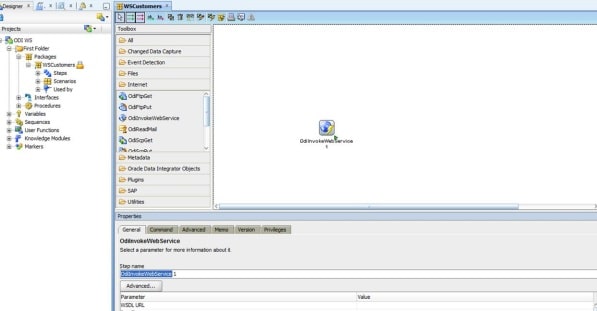
To launch the ODI web service client we click the Advanced button.
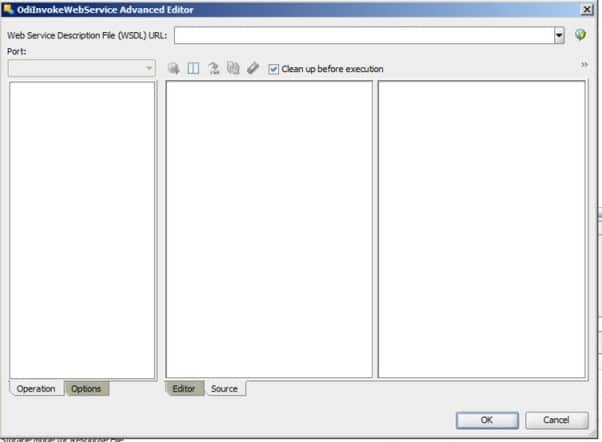
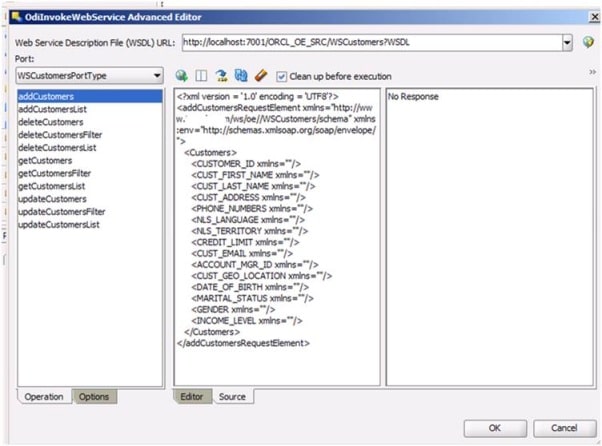
We type in the URL to the WSDL http://localhost:7001/ORCL_OE_SRC/WSCustomers?WSDL
And click the Connect to WSDL button. This will bring back a list of the available web service methods in the Operation pane.
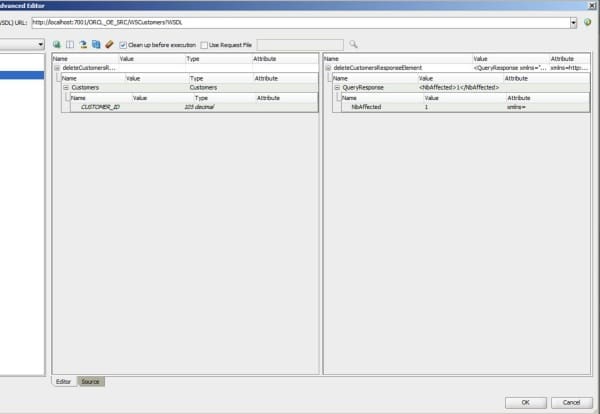
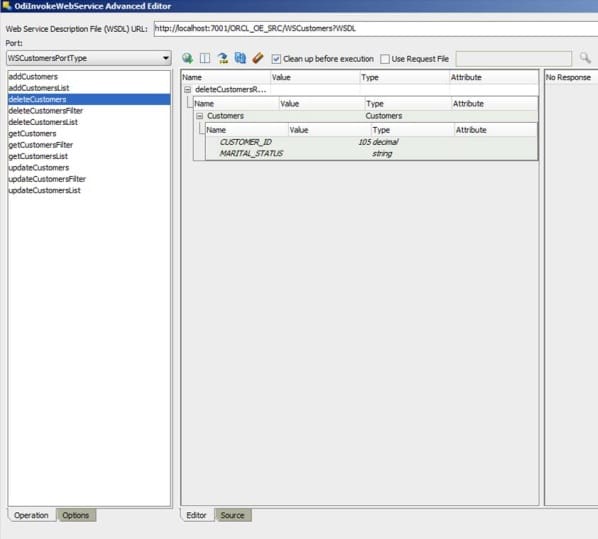
From the list of available web services we will invoke the deleteCustomers method to delete the customer with ID 105.
In the Editor pane we set the CUSTOMER_ID to 105 and click on the Invoke Web Service button
In the Response pane in the NBAffected field you will see that one record was deleted.