Flexter, Informatica, and Redshift work Hand in Hand to convert ESMA XML
In this walk-through, we combine two powerful software platforms to present a highly efficient and user-friendly method to perform ETL of complex XML files. This implementation uses Flexter, which is a powerful tool for converting complex XML files to a database or text and Informatica for ETL. We will convert ESMA XML files (these files contain the reporting specifications and transactions of ESMA for the European Union’s financial system) to TSV using Flexter, initiate ETL using Informatica and load the TSV files into Amazon Redshift using a JDBC connection
At a glance
An overview of the steps involved in this process is shown below.
About Informatica
Informatica offers an Enterprise Cloud Data Management platform that has made a global stand as a reliable cloud data integration service. It presents a robust platform for data services and can integrate with a variety of tools and other cloud services. Informatica can be used to perform the ETL process to various cloud data system in an easy and efficient manner. For this implementation, we use the Cloud Data Integration tool on Informatica cloud to perform the ETL. This data synchronization tool can be used to establish connections to data sources and other cloud platforms (Redshift etc.) using JDBC and can be configured for streaming of data at regular intervals.
Rationale behind combining Flexter and Informatica
As an ETL tool, Informatica can process XML files as part of the data load process. So, what prompts us to use Flexter? The answer lies in the complexity of the XML files, processing times, scalability, and the ease of use.
We analysed and contrasted the processing of XML files using Flexter and Informatica. We tried to process the ESMA XML data using Flexter and Informatica and here’s what we found!
Flexter scores considerably over Informatica owing to its ability to be distributed across multiple nodes for scalability and performance. In addition, Flexter can support modular schemas – multiple linked XSD files – auto-import of XSDs from http(s), ftp, sftp, hdfs and support for schemas in archives (zip, gz, tgz, 7z).
[flexter_banner]
Comparison between Flexter and Informatica for XML processing
The data was processed through Flexter in a simple manner and we could download the TSV output almost instantaneously. It was free of charge and can be used multiple times.
When it came to Informatica for XML conversion, the first hurdle was the non-availability of a built in XML processing utility. An add-on utility needs to be purchased (you can get it for free for the trial period after which an hourly/annual charge applies). A connection to the XML files can be established using this utility and then processed.
In addition to Flexter’s web service utility – where users can upload XMLs and download the TSV files – an enterprise edition can be used wherein these steps can be performed programmatically by calling the Flexter API. The Flexter API provides users with the option to specify the data lineage – source to target map, XML schema visualisation, data partitioning and the error logs. You can seamlessly integrate Flexter with any ETL tool as outlined in these posts where we integrate Flexter with Oracle Data Integrator and IRI Voracity.
Another major drawback was Informatica’s inability to process multiple XML files in one go. While Flexter does this in a straightforward manner, Informatica requires additional configurations. This means that users need to create complex loops in Informatica’s GUI to process the files one by one. This has a huge performance impact as it does not process the XMLs in bulk. This can be a major hurdle when thousands of XMLs must be loaded into a target. It also requires extra ETL developer time as these data orchestration pipelines have to be engineered.
[flexter_button]
We have collated a view of the comparison and the features of these two tools below.
| Flexter | Informatica |
|---|---|
| Flexter if a dedicated tool for XML processing. It can process any XML industry standard data | Informatica is a cloud data management service that can integrate different data sources for processing |
| Flexter provides a highly structured data output and can process multiple XML files simultaneously | Informatica does not have a built in XML processing capability. A plug in must be purchased for this utility. |
| Flexter does not place any restriction on the data volume and the output can be processed quickly | Informatica cannot directly process multiple XML files. This needs an indirect source loading and involves a lengthy setup process |
| No need for any development/training. XMLs can be processed using the free version of Flexter and data becomes available instantly | Informatica charges users on a hourly/annual basis and the XML processing utility will be billed separately |
| Can be used as an independent software and is highly cost efficient. Flexter can process any industry standard XML.. | There is no information regarding the processing of industry standard XML data using Informatica There is a limit on the data usage. Additional charges may apply for large files |
| Data can be easily downloaded and analysed using any tool available on the market | XML processing can be completed and viewed after setting up the target connections and agents |
Flexter Vs Informatica
In the following steps, we have described the processing of XML files and the ETL how to in detail.
[cloud_book_banner]
XML data from ESMA
We have sourced the data from ESMA. ESMA is an independent EU Authority that contributes to safeguarding the stability of the European Union’s financial system by enhancing the protection of investors and promoting stable and orderly financial markets. The data includes the reporting specifications and transactions. The specifications include the financial regulations laid down as part of different committees and the related market transactions.
Processing the XML file
We will be using Flexter to convert the XML data to Amazon Redshift.
Convert ESMA XML to Text Using Flexter
Flexter is a tool that can transform complex XMLs into readable files that can be used for analysis. The step by step instructions for transforming XML files using Flexter are shown below. We will process the ESMA XML using the free version of Flexter. This can also be performed using Flexter API programmatically. A quick comparison of these two methods of XML processing is given below
For this exercise, we have used the Flexter. The steps involved in the XML processing using Flexter are given below.
- Access Flexter from https://xmlconverter.sonra.io/
- Click on the ‘Terms and Conditions’ checkbox and click ‘Try Flexter for Free’
- Upload the XML file that needs to be transformed and click ‘Continue’
- On the next page, we can upload the XSD file (if available). For this implementation, the XSD file is not available and hence we will click on ‘Skip ‘and proceed to the next page.
- Provide Email and click ‘Continue’
- On the next page, click on ‘Finish’ and the output from Flexter will be delivered to the subscribed email address.
- An email from Flexter with the link to the transformed data is obtained. The TSV files can be downloaded from this link which redirects to the Flexter page.
- For the XML files from ESMA, a total of 28 TSV files were generated and downloaded.
In the next steps, we have detailed the process of setting up Informatica and performing the ETL.
Getting started with Informatica
Informatica offers users with a free trial. Follow the below steps to set up a free account for ETL processing.
Step 1. Go to Informatica Free Trial
Step2. Fill in the details and click ‘Start your free trial’
Step3. An email with the log in instructions will be sent to the registered address. Click on ‘Confirm account’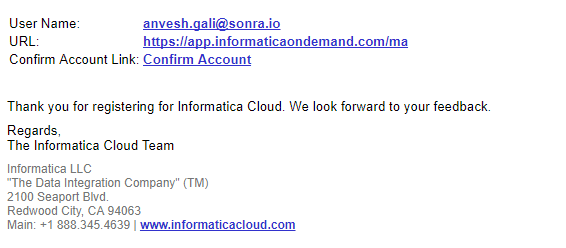
Step 4. Set up a password and security question
Step5. The Informatica home page is displayed.
Configuring Redshift and JDBC connectivity
The next steps would be to setup the Redshift account with AWS and configure a JDBC connection.
Step1. Go to Amazon Redshift
Step2. Click on ‘Start Free Trial’
Step3. Enter AWS user name and password and click ‘Sign In’
Redshift account is ready for use. In the next steps, we will create a cluster in Redshift which can then be connected to Informatica.
Creating a Redshift Cluster
The most important component for a data warehouse in Amazon Redshift is the cluster. An Amazon Redshift data warehouse is a collection of computing and storage resources called nodes, which are organized into a group called a cluster. Each cluster runs an Amazon Redshift engine and contains one or more databases. The following steps detail the process of creating a Redshift cluster.
Step 1. Login to the Redshift console on AWS and click on Clusters
Step 2. Click on ‘Launch Cluster’
Step 3. The cluster details page is displayed as shown below
Step 4. Specify the cluster identifier as ‘flexter-esma’, database name as ‘esma’, the username and password and click ‘Continue’
Step 5. Select the node type as dc1.large and the cluster type as ‘Single Node’. The node type and the cluster types are selected based on the storage requirement and the compute speed. For this implementation, a single node would suffice.
Step 6. In the additional configuration page, the default values which are pre-populated are left unchanged. Ensure that the VPC security group is selected as ‘default’ and click ‘Continue’
Step 7. Review the details and click ‘Continue’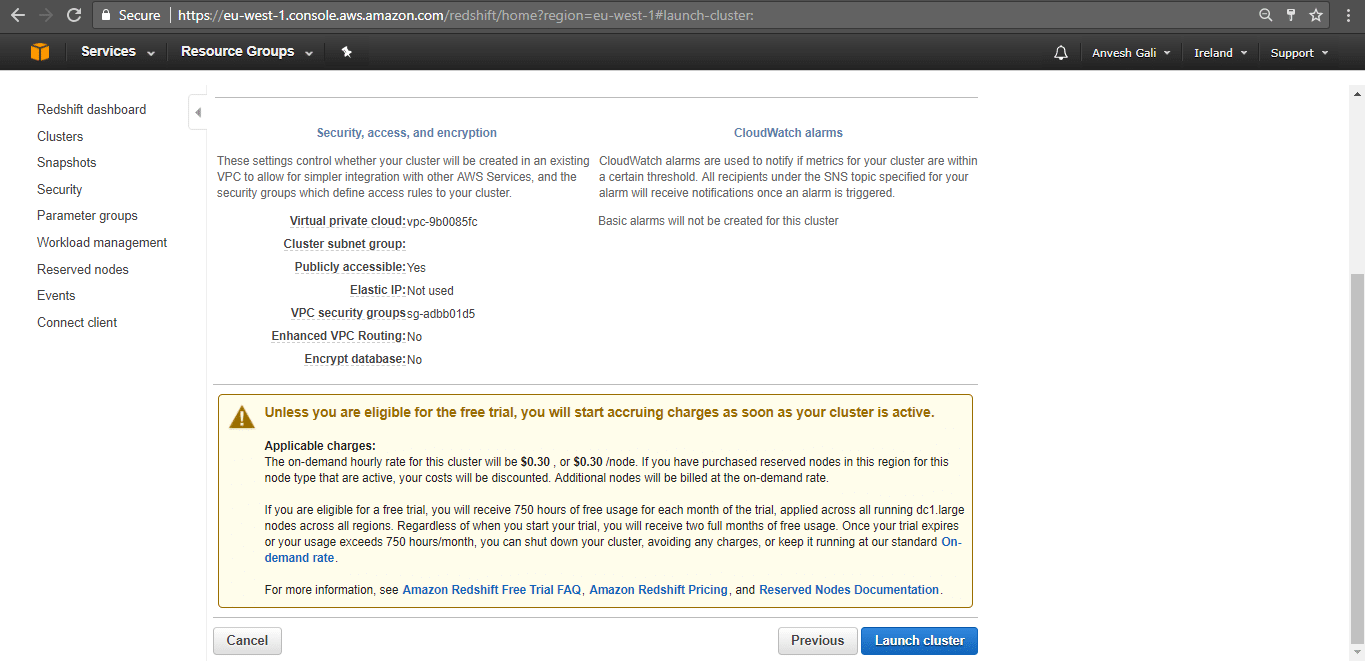
Step 8. The below message is displayed. Click on ‘Close’
Step 9. The cluster dashboard is displayed as shown.
We can see that the cluster flexter-esma has been created and is available. The next step would be the database schema setup in the Redshift cluster.
Working with Redshift
In the following steps, we detail the use of SQL Workbench/J to query in the Redshift cluster. SQL Workbench/J is a free, DBMS-independent, cross-platform SQL query tool. Its main focus is on running SQL scripts (either interactively or as a batch) and export/import features.
Step 1. Go to SQL Workbench/J downloads
Step 2. Click on ‘Download generic package for all systems’. A ZIP file is downloaded. Extract the contents.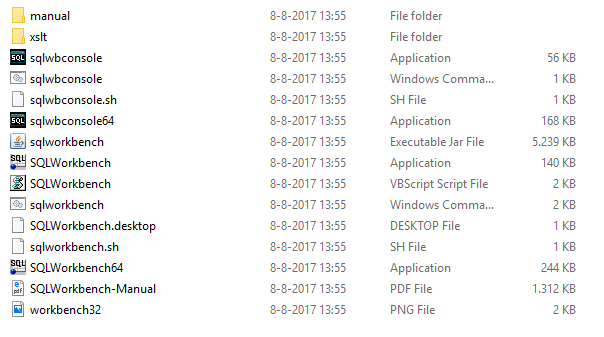
Step 3. Launch the SQLWorkbench application
Step 4. SQL Workbench/J needs to be connected to Redshift using a JDBC driver. Download the Amazon Redshift JDBC driver. To add this connection in SQL workbench/J, go to File -> Connect Window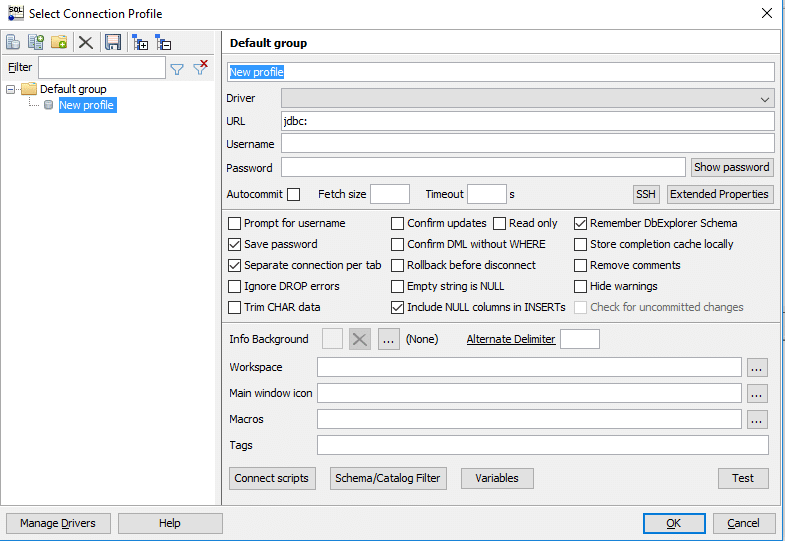
Step 5. Click on Manage Drivers
Step 6. Click ‘Create a new entry’ icon
Step 7. Specify the Name as ‘Amazon Redshift’ and library as the location of the downloaded driver (.jar file) and click ‘Ok’
Step 8. In the ‘Select connection profile’ window, specify the name as flexter_esma, the driver as ‘Amazon_Redshift’. For the URL, we need to go to the cluster dashboard on Redhsift, click on cluster flexter_esma and select the JDBC URL.
Step 9. The security group in the Redshift cluster needs to be configured to allow inbound connections. Click on cluster flexter-esma and select the VPC security group
Step 10. Select Inbound. Click ‘Edit’ and specify the type as ‘Redshift’, port as ‘5439’and Source as 0.0.0.0/0 and click ‘Save’
Step 11. The security group is configured as shown below
Step 9. On the SQL Workbench/J console, specify all details including the JDBC URL, username and password (as specified for the database) and click ‘Test’’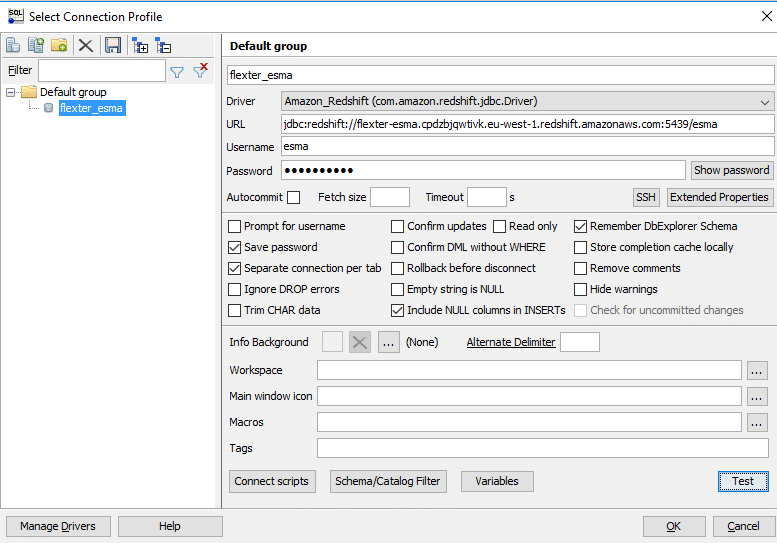
Step 10. Message displaying the successful connectivity should be displayed
Step 11. In the SQL Workbench/J page, the cluster schema is displayed
Step 12. For this exercise, we create a table in the Redshift cluster using SQL workbench/J
|
1 2 3 4 5 6 7 8 |
create table AIFMFivePrincipalMarket ( FK_AIFMReportingInfo int, AggregatedValueAmount bigint, MarketCode varchar(50), MarketCodeType varchar(50), Ranking int ); |
In a similar manner, the database can be created as per the schema. The next stage would be the ETL from Informatica.
ETL into Redshift using Informatica
In the next steps, we will be creating a data synchronization task to complete the ETL process.
Step 1. Login to the Informatica console and go to ‘Overview tab’
Step 2. Click on ‘Download the Secure Agent’ and install it. The secure agent should be up and running.
Step 3. Go to Task Wizards on the console and select ‘Data Synchronization’ and click ‘New’
Step 4. Specify the task name as ‘esma_flexter’ and the operation as ‘Upsert’. Click ‘Next’
Step 5. Under Source, click ‘New’ in Connection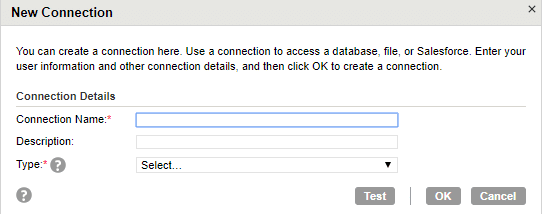
Step 6. Specify connection name as Flexter_output_esma and type as ‘Flat file’. After selecting the type, new fields for Runtime environment and Directory are displayed. Select the directory, code page as UTF-8 (for TSV files) and Click ‘Test’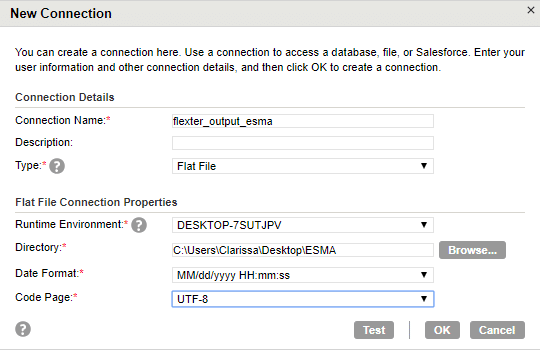
Step 7. The connection should be successful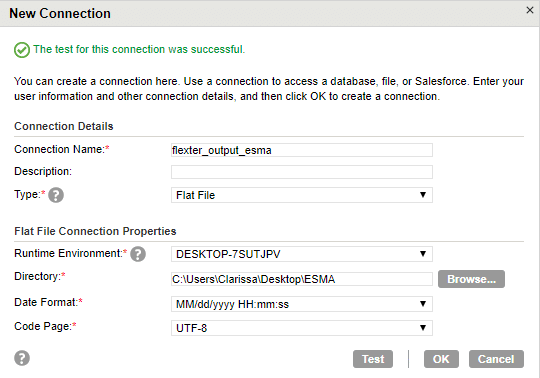
Step 8. In the source window, select formatting options
Step 9. Select delimiter as Tab and click ‘Ok’. Select the source object as necessary (the source object is the TSV file that is to be loaded)
Step 10. In the Target page, click on New under Connection
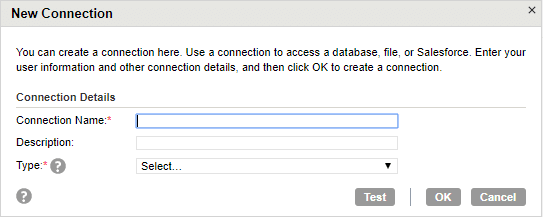
Step 11. Enter the connection name as flexert_to_redshift. Specify the AWS user name, passwords and the JDBC URL that can be copied from the cluster dashboard (Redshift)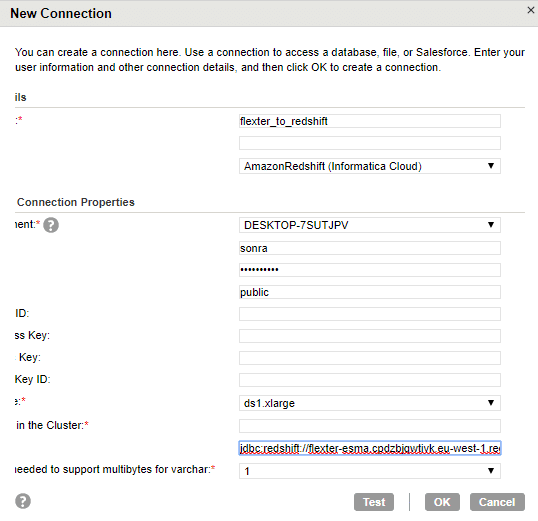
Step 12. The connection should be successful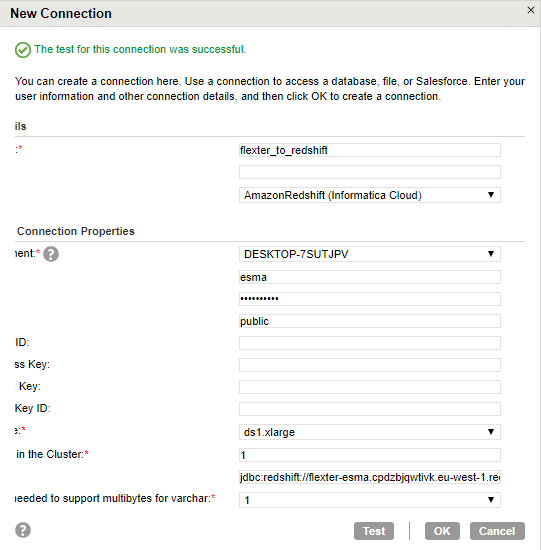
Step 13. In the target page select the object as the table (created using SQL Workbench/J)
Step 14. Select the data filters. In this exercise, we do not specify any data filters
Step 15. On the next page verify if the field mapping is accurate
Step 16. On the schedule page specify the S3 bucket value as flexteroutput and select Save and Run
Step 17. Activity monitor showing the task in progress is displayed
The ETL from Flexter to Redshift through Informatica is complete. The free version of Flexter is an easy and efficient tool for parsing the ESMA XML files in a seamless manner. The output from Flexter can be integrated across various cloud platforms using Informatica, which makes it a highly useful combination for data synchronization and analysis.
Which data formats apart from XML also give you the heebie jeebies and need to be liberated? Please leave a comment below or reach out to us.