Converting CDISC XML data to a database (Snowflake)
In this post we will guide you through the challenging process of obfuscating and converting CDISC XML data to Snowflake. We will be using Sonra’s masking tool Paranoid and processing and parsing tool Flexter.
Table of Contents
CDISC
The Clinical Data Interchange Standards Consortium (CDISC) is a standards developing organization (SDO) dealing with medical research data linked with healthcare, to “enable information system interoperability to improve medical research and related areas of healthcare”.
CDISC standards are harmonized through a model that is also a HL7 standard and is in the process of becoming an ISO/CEN standard.
Masking CDISC XML
Now that we have introduced the tools we are using, we will start masking our XML data.
In a first step we will be masking our CDISC XMLs with Paranoid. You can find how to install Paranoid in our Masking Sabre xml post ( don’t worry it only takes a couple of steps to install it )
|
1 |
paranoid -i <file path> -o <output file path> |

This will mask all of the values of the XML document. Optionally Paranoid has the feature to mask individual elements inside an XML document.
Let’s have a look at our file after masking
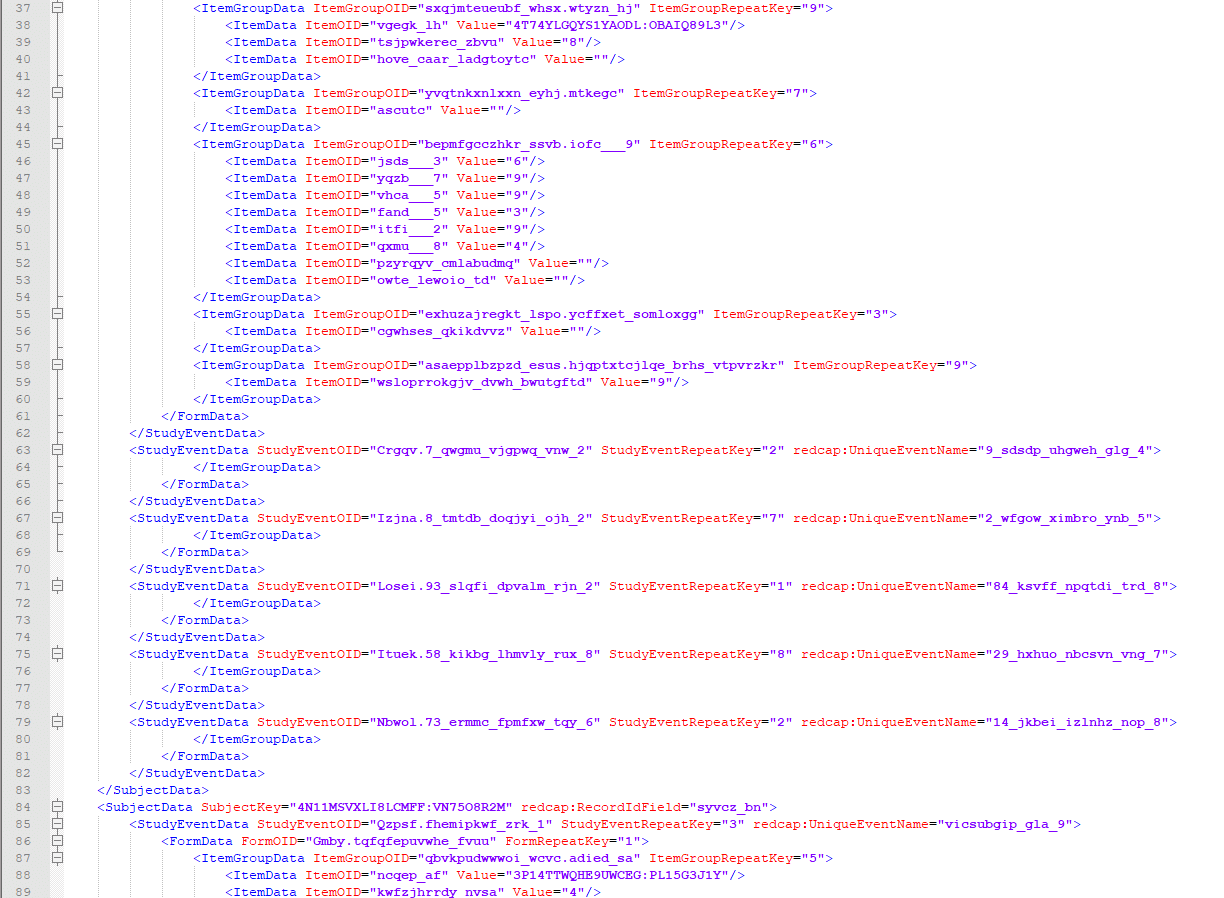
Now we can start going through a few more steps and convert CDISC XML data to a relational format in Snowflake.
Snowflake
Snowflake is an analytic data warehouse provided as SaaS. It runs on cloud infrastructure, and all of its services are running on a public cloud infrastructure. Snowflake data warehouse uses a combination of SQL database engine and one of a kind architecture designed for the cloud.
Snowflake enables you to scale up or down with ease, due to separation of storage and compute. It can do even heavy workloads at unbelievable speed. Some of the strong points of Snowflake are:
- Uncompromising Simplicity
- Unlimited Concurrency
- Breathtaking Performance
Processing masked XML with Flexter
Flexter exposes its functionality through a RESTful API. Converting XML/JSON to Snowflake can be done in a few simple steps.
Step 1 – Authenticate
Step 2 – Define Source Connection (Upload or S3) for Source Data (JSON/XML)
Step 3 – Optionally define Source Connection (Upload or S3) for Source Schema (XSD)
Step 4 – Define your Target Connection, e.g. Snowflake, Redshift, SQL Server, Oracle etc.
Step 5 – Convert your XML/JSON from Source to Target Connection
Step 1 – Authenticate
To get an access_token you need to make a call to /oauth/token with Authorization header and 3 form parameters:
- username=YOUR_EMAIL
- password=YOUR_PASSWORD
- grant_type=password
You will get your username and password from Sonra when you sign up for the service.
|
1 2 3 4 |
curl --location --request POST "https://api.sonra.io/oauth/token" \ --header "Content-Type: application/x-www-form-urlencoded" \ --header "Authorization: Basic NmdORDZ0MnRwMldmazVzSk5BWWZxdVdRZXRhdWtoYWI6ZzlROFdRYm5Ic3BWUVdCYzVtZ1ZHQ0JYWjhRS1c1dUg=" \ --data "username=XXXXXXXXX&password=XXXXXXXXX&grant_type=password" |
Example of output
|
1 2 3 4 5 6 7 8 |
{ "access_token": "eyJhbG........", "token_type": "bearer", "refresh_token": "..........", "expires_in": 43199, "scope": "read write", "jti": "9f75f5ad-ba38-4baf-843a-849918427954" } |
Step 2 – Define Source Connection (Upload) for Source Data (CDISC XML)
In this step we upload our CDISC XML Source data
|
1 2 3 4 5 |
curl --location --request POST "https://api.sonra.io/data_sources/cdisc-masked" \ --header "Authorization: Bearer <access_token>" \ --form "source_type=uploaded_file" \ --form "file=@" \ --form "data_type=xml" |
Example of output
|
1 2 3 4 5 6 7 8 |
{ "name" : "cdisc-masked", "type" : "xml", "source_type" : "uploaded_file", "path" : "file-b0d90d65-50c8-4376-955b-78f54b6dca9d", "size" : 35662264, "create_date" : "2019-10-17T19:10:14.578+0000" } |
Step 3 – Define Target Connection (Snowflake)
Since we don’t have a Source Schema (XSD) we skip the optional step of defining a Source Schema.
We define our Target connection. We give the Target Connection a name and supply various connection parameters to the Snowflake database.
|
1 2 3 4 5 6 7 8 9 |
curl --location --request POST "https://api.sonra.io/target_connections/cdisc" \ --header "Authorization: Bearer <access_token>" \ --form "target_type=snowflake" \ --form "host=xxxxxxx.eu-central-1.snowflakecomputing.com" \ --form "username=sfuser" \ --form "password=sfpass" \ --form "database=sfdb" \ --form "schema=sfchema" \ --form "warehouse=sfwh" |
Example of output
|
1 2 3 4 5 6 |
{ "name" : "cdisc", "target_type" : "snowflake", "path" : "xxxxxxx.eu-central-1.snowflakecomputing.com", "create_date" : "2019-10-17T19:10:14.578+0000" } |
Step 4 – Convert XML data from Source Connection (Upload) to Target Connection (Snowflake)
In last step we will convert XML data. Data will be written directly to Snowflake Target Connection.
|
1 2 3 4 |
curl --location --request POST "https://api.sonra.io/conversions/cdisc-masked" \ --header "Authorization: Bearer <access_token>" \ --form "data_source=cdisc-masked" \ --form "target=cdisc" |
Example of output
|
1 2 3 4 5 6 7 8 9 10 11 12 13 14 15 16 17 18 19 20 21 22 |
{ "name" : "DataFlow-ae7373ae-8c33-42ad-929d-35417cdedbe8", "schema_source_connection" : null, "data_source_connection" : { "name" : "cdisc-masked", "type" : "xml", "source_type" : "uploaded_file", "path" : "file-10fed7df-39d8-4690-a188-acaa99deeb1f", "size" : 35662264, "create_date" : "2019-10-17T19:10:14.578+0000" }, "target_connection" : { "name" : "cdisc", "target_type" : "snowflake", "path" : "", "create_date" : "2019-10-17T19:10:14.578+0000" }, "create_date" : "2019-10-17T19:10:14.578+0000", "status" : "I", "download_link" : null, "full_status" : "INITIALIZED" } |
Example of ER Diagram
We can create and download an ER Diagram of the model that Flexter generated by making a GET call.
|
1 2 |
curl --location --request GET "https://api.sonra.io/conversions/cdisc" \ --header "Authorization: Bearer <access_token>" |
Example of output
|
1 2 3 4 5 6 7 8 9 10 11 12 13 14 15 16 17 18 19 20 21 22 23 24 25 |
{ "name" : "cdisc", "schema_source_connection" : null, "data_source_connection" : { "name" : "cdisc", "type" : "xml", "source_type" : "uploaded_file", "path" : "file-68009cc1-1cc7-4aeb-ad3f-84dbf8ef5ebf", "size" : 327765, "create_date" : "2019-10-17T19:10:14.578+0000" }, "target_connection" : { "name" : "cdisc", "target_type" : "snowflake", "path" : "xxxxxxx.eu-central-1.snowflakecomputing.com", "create_date" : "2019-10-17T19:10:14.578+0000" }, "create_date" : "2019-10-17T19:10:14.578+0000", "status" : "C", "download_link" : null, "diagram_link" : "<ER Diagram Download Link>", "mapping_link" : "<Mapping Download Link>", "credit_usage" : 0, "full_status" : "COMPLETED" } |

You can download the ER Diagram of our CDISC XML file here.
Next we will run an SQL Query where we will select subject level information with the most frequently recorded type of item groups (ITEMGROUPOID) for the first, the third or the fifth measurements (ITEMGROUPREPEATKEY)
|
1 2 3 4 5 6 7 8 9 10 11 12 13 14 15 16 17 18 |
SELECT SUB.RECORDIDFIELD ID ,SUB.STUDYEVENTDATA_STUDYEVENTOID STUDY_EVENT_ID ,SUB.STUDYEVENTDATA_UNIQUEEVENTNAME STUDY_EVENT_NAME ,IGD.ITEMGROUPOID ITEMGROUP ,mode(IGD.ITEMGROUPOID) OVER (partition by SUB.PK_SUBJECTDATA) MOST_FREQUENT_ITEMGROUP FROM SUBJECTDATA SUB INNER JOIN FORMDATA FD ON SUB.PK_SUBJECTDATA = FD.FK_SUBJECTDATA INNER JOIN ITEMGROUPDATA IGD ON IGD.FK_FORMDATA = FD.PK_FORMDATA WHERE IGD.ITEMGROUPREPEATKEY in (1, 3, 5) GROUP BY SUB.PK_SUBJECTDATA ,SUB.RECORDIDFIELD ,SUB.STUDYEVENTDATA_STUDYEVENTOID ,SUB.STUDYEVENTDATA_UNIQUEEVENTNAME ,IGD.ITEMGROUPOID |

Conclusion
And we are finished with this “long and hard process” :-). We have managed to complete a couple of tasks in a few minutes that normally take hours or days.
Our enterprise edition can be installed on a single node or for very large volumes of XML on a cluster of servers.
If you have any questions please refer to the Flexter FAQ section. You can also request a demo of Flexter or reach out to us directly.
Enjoyed this post? Have a look at the other posts on our blog.
Contact us for Snowflake professional services.
We created the content in partnership with Snowflake.
In this video, we use Flexter to automatically convert very complex FpML XML to Snowflake tables. Book a demo to see the power of Flexter in action!